Genius Hack: Organize Sign Up Participants in Groups
 Posted by Ally Patterson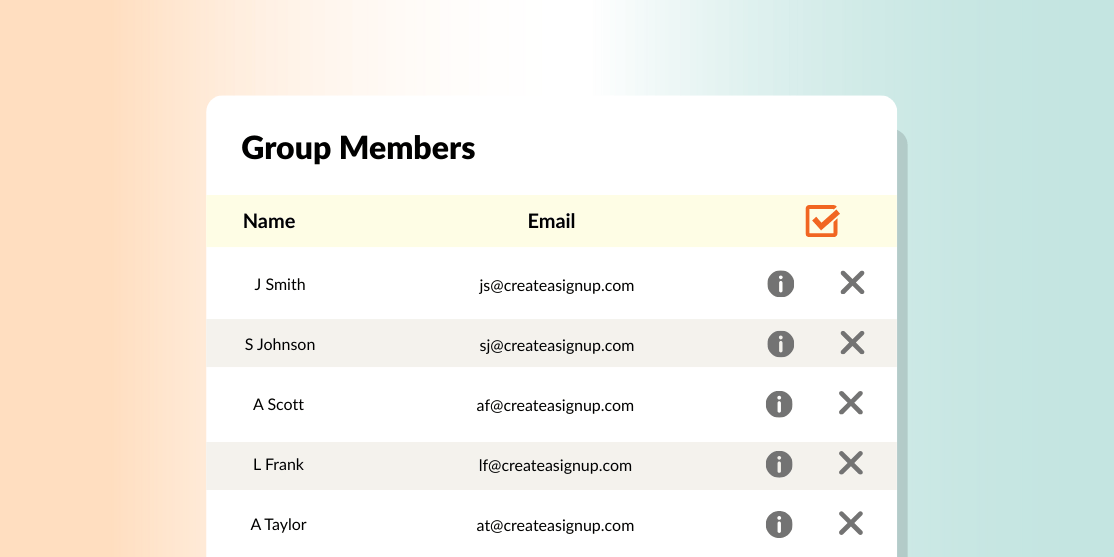
Lots of things are better with a group — brunch, a game of Monopoly, flash mobs. With SignUpGenius, you can easily manage events by creating and inviting groups. Bring on the dance parties.
Create a New Group
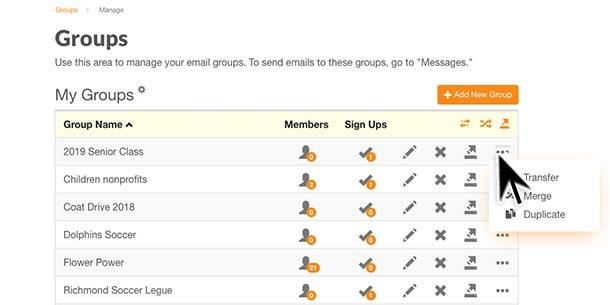
To create a new group, click "Groups" from the left side of your account page. If you've already created sign ups, you'll see a list of existing groups. Click the orange "Add New Group" button and enter a group name.
Once you create the group, you can add members by manually typing in their email addresses, importing contacts from your email provider or uploading a CSV file.
Using a CSV file is a great way to associate names with your email addresses as you upload. If importing contacts through a CSV file, follow these instructions:
- Export your contacts to a CSV file from your program of choice. Make sure that the first row of your CSV file includes the titles of the columns.
- Enter the exact column titles used in your CSV file in the form that appears when you upload. The order of your columns or having extra columns doesn't matter — we use the titles to identify your data.
- Upload your file!
If you prefer to start from scratch, you can also download a blank CSV template.
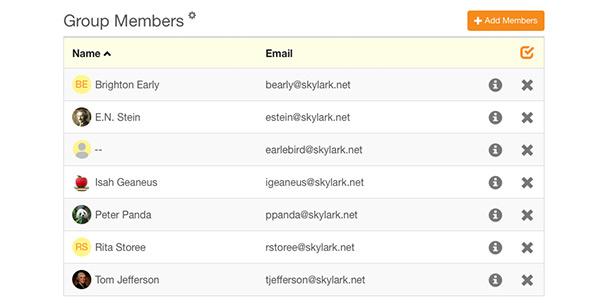
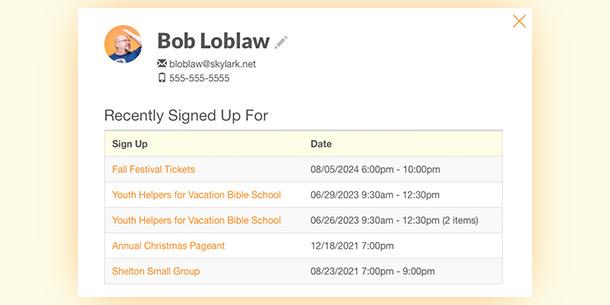
Once your group members are loaded, you'll see them laid out all nice and neat! Keep in mind, if you haven't entered names, you have the option to click on the edit tool to add that information later. If a contact already has a registered SignUpGenius account, their contact information cannot be edited. If a name is not associated with the email, it will display without a name.